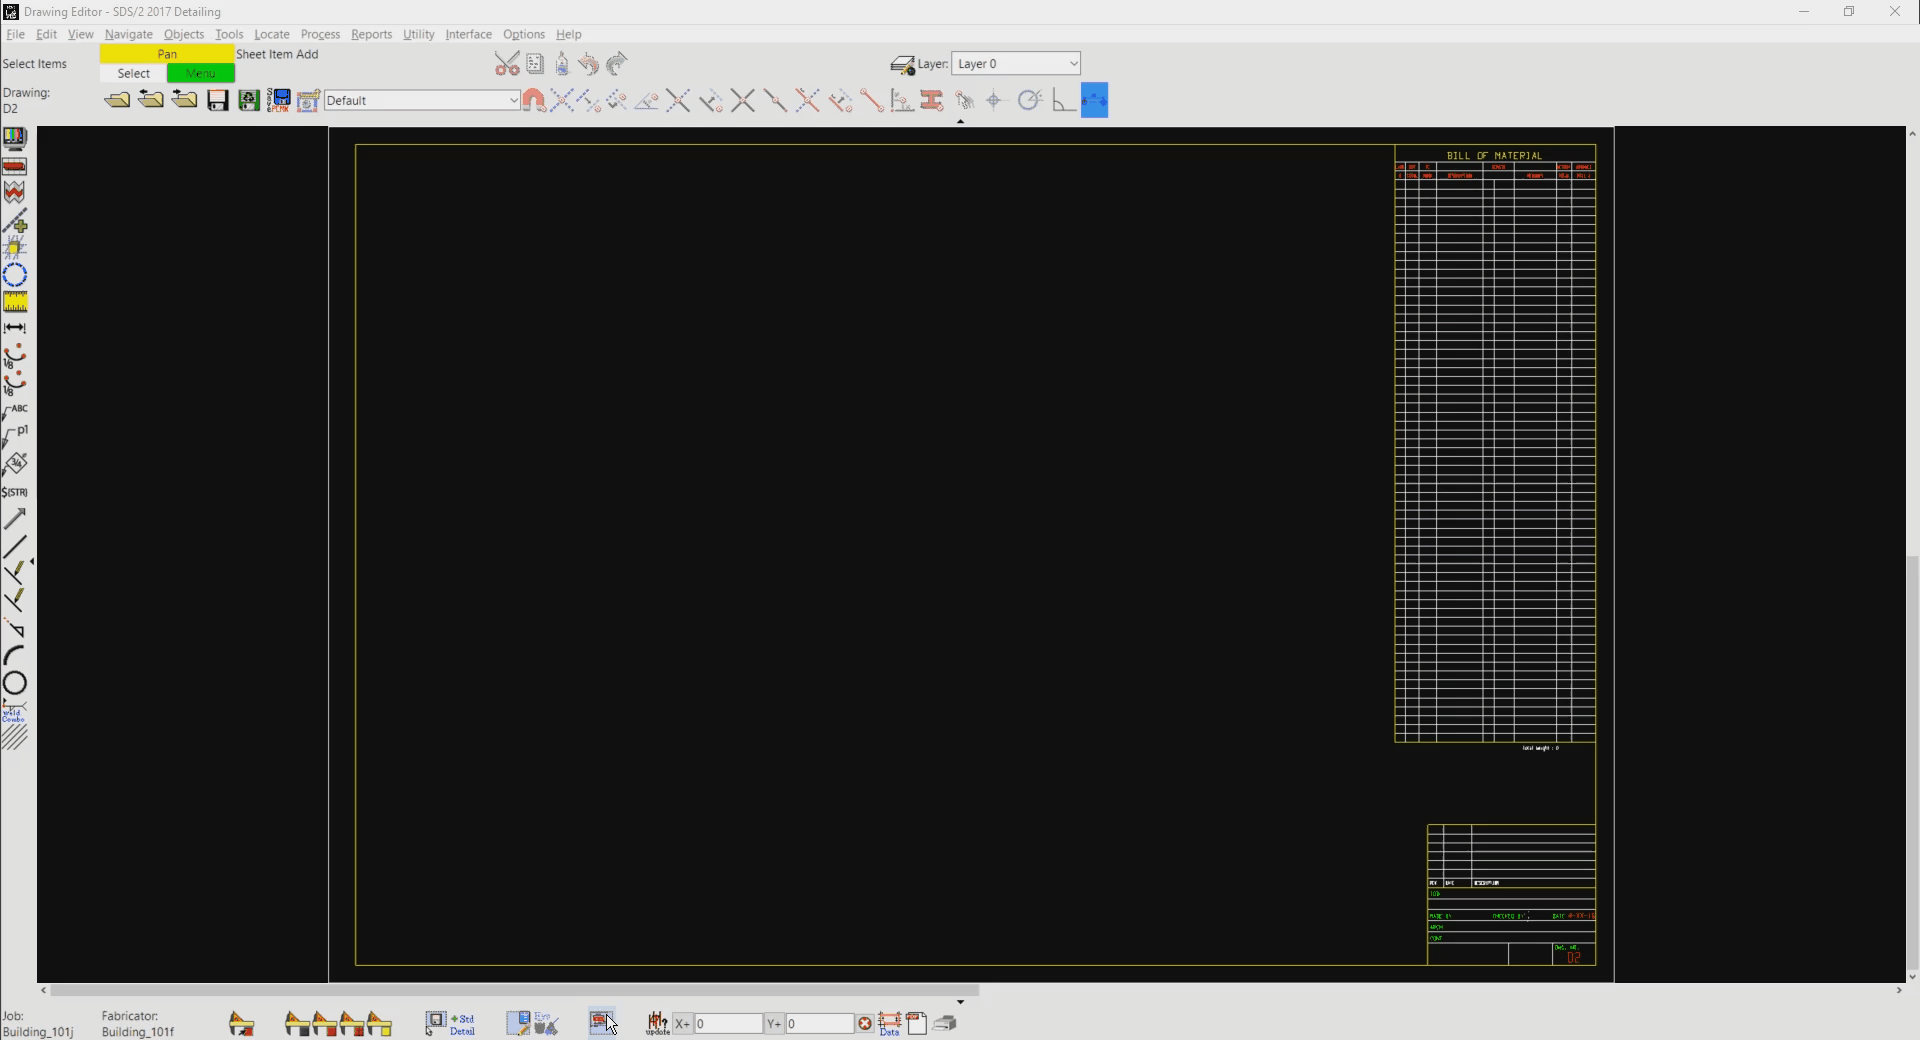
 Sheet Item Add ( Drawing Editor )
Tool summary :
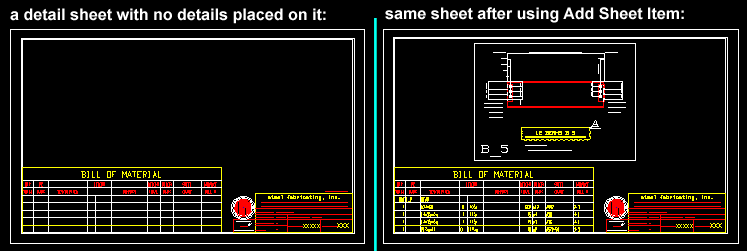
- Lets you place a drawing as a sheet item onto a sheet, member detail, 2D erection view or sheet outline.
Sheet Item Drawing Type the Sheet Item Can Be Added To Submaterial detail member detail, 2D erection view, sheet outline or detail/erection/gather sheet. Member detail sheet outline or detail/erection/gather sheet. 2D erection view sheet outline or 2D erection view or detail/erection/gather sheet. A 2D erection view cannot be added as a sheet item to itself. Job standard detail member detail, submaterial detail, 2D erection view, sheet outline or detail/erection/gather sheet. Sheet items cannot be added to job/global standard details. - A drawing that is placed as a sheet item is linked to the original drawing that the sheet item is a representation of. When the original drawing is changed, the sheet item changes also. The original drawing can be a submaterial detail, member detail, 2D erection view or job standard detail.
- For sheet outlines, you can update the original drawing to update all sheets that were originally created using the sheet outline on which the sheet item was first placed. However, a sheet item that has been placed on a sheet outline will be on a sheet that uses that sheet outline only if Sheet Item Add was done on that sheet outline before the sheet was created.
- On a detail sheet with a bill of material on it, Sheet Item Add adds bill data to the bill of material as details are placed onto the sheet. The bill is filled out from top to bottom in the order that details are placed.
- See (on this page):
Also see :
|
- Drawing Editor (where Sheet Item Add is a tool)
- Sheet item (topic)
- How Detail Members compiles bill data (topic)
- Job standard details (may be added as sheet items)
- Viewport (sheet items have viewports)
- Edit Sheet Item (double-click a sheet item on a sheet or other drawing)
- Drag in Select Items mode (moves a sheet item after it has been placed)
- Sheet Bill Reorder (to change the bill order for details placed as sheet items)
- Drawing Summary (tells you how full a bill is)
- Undo (undoes the placement of a drawing onto a sheet)
- Base drawing (may be created when adding a member detail to a sheet)
- Disable automatic creation of BASE drawings ( Home > Project Settings > Fabricator > Sheet Revisions )
- Disable automatic creation of ARCHIVED drawings ( Home > Project Settings > Fabricator > Sheet Revisions )
- Detail Sheet Autoloading (alternative to Sheet Item Add )
- Gather Sheet Autoloading (alternative to Sheet Item Add )
Alert messages :
If you select a sheet item that has already been placed on another drawing or sheet, Sheet Item Add opens a yes-no warning dialog which lists those other drawings or sheets that the sheet item is on.
|
Press the "Yes" button if you want to place the sheet item anyway. Tip: Double-click the placed drawing to confirm that " List in bill of material " is turned off.
Press the " No " button if you don't want to place the sheet item after all.
If you are adding a member detail to a sheet with a bill of material on it, you will be notified if the bill data associated with the member detail has more lines than are available in the bill of material.
|
After you press " OK ," you can optionally left-click ( Locate ) to place the sheet item anyway. Or you can right-click ( Return ) to decline to place the sheet item. See step 3d of the instructions.
Step-by-step instructions :
You can add sheet items to a member detail, submaterial, 2D erection view, sheet outline or detail/erection/gather sheet. The following instructions assume that you are using a 3-button mouse. Notice that you can end this operation by pressing " Cancel " (step 2 or step 4, alternative 2).
1 . With a sheet or sheet outline or member detail or submaterial or 2D erection view as your current drawing, invoke Sheet Item Add using any one (1) of the following methods:
▸ Click the Sheet Item Add icon. The icon can be taken from the group named ' Objects -- Sheet Items ' and placed on the ribbon.
▸ Sheet Item Add can also be invoked using a keyboard shortcut , the context menu , or a mode . For the ' Lightning ' layout style, configuration of the interface is done using Customize Interface .
▸ While Sheet Items Mode mouse bindings are active, middle-click ( Add ).
2 . A drawing selection dialog opens.
|
These types of drawings can be added as sheet items, provided that your current drawing is the right type (as described here ). |
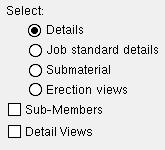
2a : Select one (1) of the following to set the type of drawing you want to be listed on the dialog: '
Details ' or ' '
Alternative 1 : Double-click the name of the drawing that you want to place (or select it then press " OK "). Go to step 3.
Alternative 2 : Select multiple sheet items then press " OK ." Go to step 3.
Alternative 3 : Press the " Cancel " button to end the Sheet Item Add operation and not place any more drawings on the sheet. Do not continue.
3 . Locate - Options - Return mouse bindings become active. Be aware that if you selected multiple sheet items in step 2, steps 3a and 3d are repeated for each of the selected sheet items.
|
|
|
bindings |
|
|
opens with middle-click ( Options ) |
3a : A sheet item is shown as a rectangle whose left, lower corner is attached to your mouse pointer (
). The size of the rectangle represents the proper scale and the true extents of the original drawing that the sheet item links to. Optionally do step 3b or 3c.
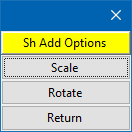
3b (optional) : To change the sheet items's scale, middle-click ( Options ) then press the " Scale " button on the pop-up menu and enter the scale you want. This does not affect the " Drawing scale " in the Drawing Data Panel -- it only affects the " Scale " of the individual sheet item.
3c (optional) : To rotate the sheet item, middle-click ( Options ) then press the " Rotate " button on the pop-up menu and enter the rotation that you want (positive degrees for counterclockwise, negative for clockwise).
3d : For each sheet item that appears in step 3a, you must either left-click ( Locate ) or right-click ( Return ).
Alternative 1 : Right-click ( Return ) sends you back to step 3a (if more sheet items have been selected for placement). Or it sends you back to step 2a (so that more sheet items can be selected for placement).
Alternative 2 : Position the sheet item, then left-click ( Locate ). If applicable, an alert message may appear, and you should respond appropriately.
3e : Repeat these steps beginning with step 3a for as many sheet items that you selected in step 2, alternative 2. When you have left-clicked ( Locate ) or right-clicked ( Return ) for each of the sheet items you selected, Sheet Item Add automatically goes to step 4.
4 . The same drawing selection dialog that opened in step 2 now opens again. The drawing you just added is no longer listed (unless the box is checked for " Show All ").
Alternative 1 : Press the " Cancel " button at the bottom of the selection dialog if you are done adding sheet items to your current drawing.
Alternative 2 : Follow these same instructions beginning with step 2 to place additional sheet items.
Tips: Undo removes sheet items placed using Sheet Item Add , one sheet item at a time. It does not undo the creation of base drawings . To change the scale or rotation of a sheet item, double-click the sheet item to open the Edit Sheet Item window.

